At Kobler, we never settle. We have some of the best people who are constantly working to develop the Kobler platform, keeping it always equipped to challenge behavioural advertising. Our goal is to continue to lead the way in 3rd generation contextual marketing.
In the near future, there will be several new improvements and launches in the platform.
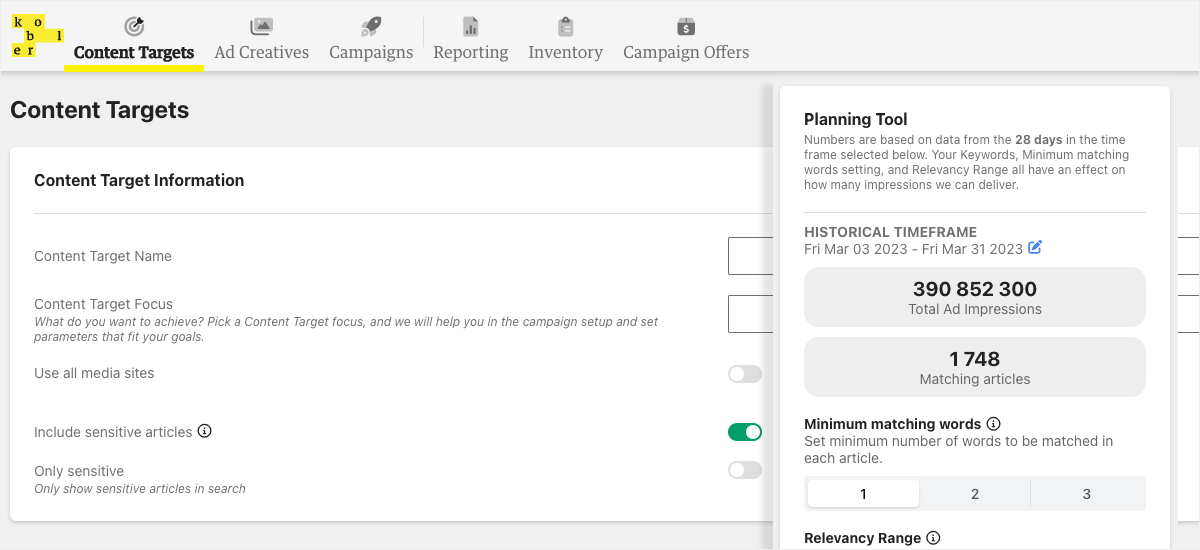
First up is the "PlanningTool" - the new campaign tool with many new and exciting features.
- With the Planning Tool, you can easily plan and optimize your campaigns with greater precision. The tool increases the relevance and volume of your campaigns.
Look forward to an even better user experience!
In connection with the launch of the Planning Tool, we have made both technical and visual changes to the entire Content Target page. This is because everything is connected and all the actions you take in the different modules on the page will affect the end result.
In this article, we guide you through the new Content Target page step by step, showing you the Planning Tool and the most important things you need to know about the new features.
How to use the Planning Tool
The next time you log into the platform and on to Content Target, you will immediately see several changes. We recommend following the workflow described below to get the best results for your campaign.
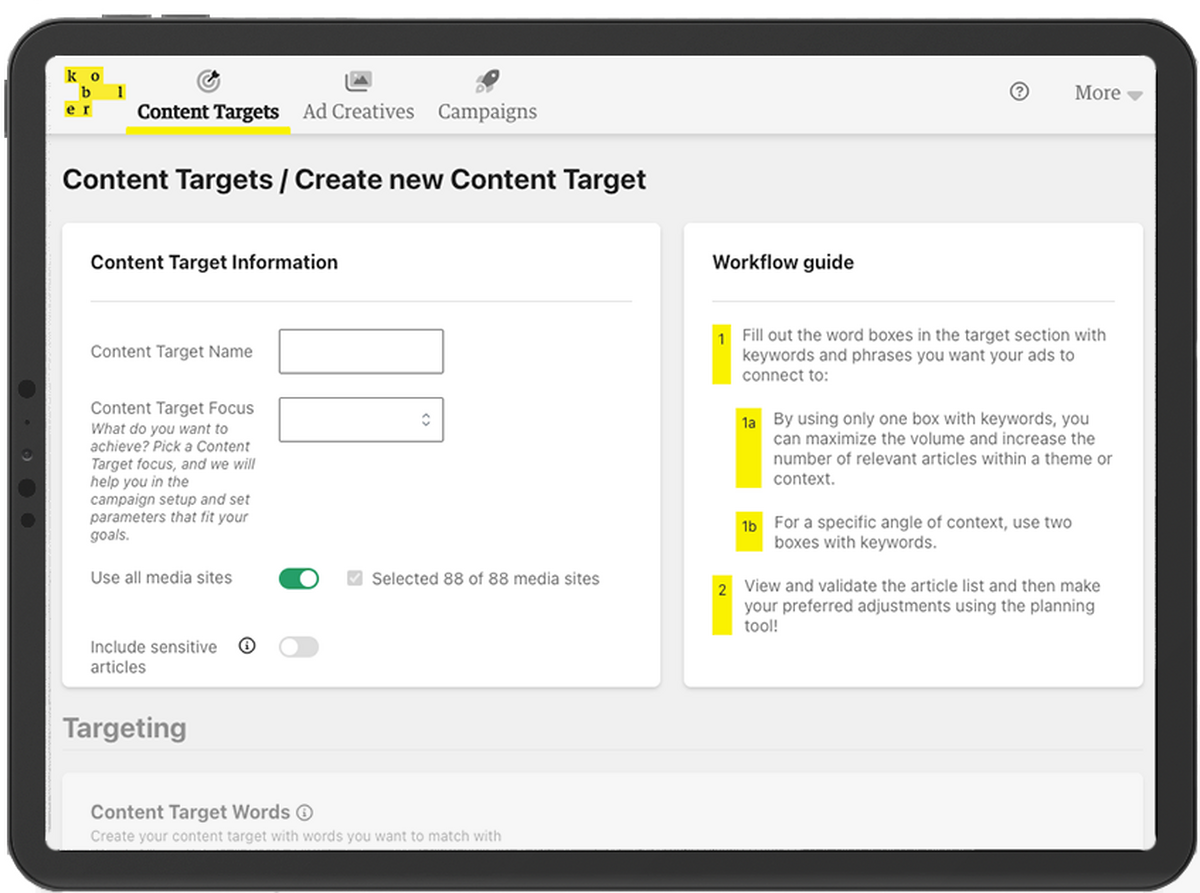
Step 1 Content Target information
- Start by giving your Content Target a suitable name so that it will be easy to find later.
- Choose your focus (KPI) for your campaign.
Your selected focus enables us to help you achieve a better result. - We have our own workflow guide that shows you the most important steps, as well as support texts along the process. More information can be found on our support pages.
Step 2 Strategy
Before you add keywords to the boxes, you should have a clear goal for your campaign. The choice of topic and contextual direction are important as they decide the number of recommended key word boxes.
- Are you going to advertise within a contextual direction or are you searching for a specific angle of context?
- Use one box to maximize the volume and number of relevant articles within a topic or context.
- Use two boxes if you want a specific angle of context.
Tip 1! You no longer need two boxes to narrow down a campaign! Planning Tool helps you with both narrowing and broadening. In addition, it makes sure to reach articles with the degree of relevance you want. More on this topic further down in the article!
Tip 2!Be careful using generic words.
Step 3 Add keywords
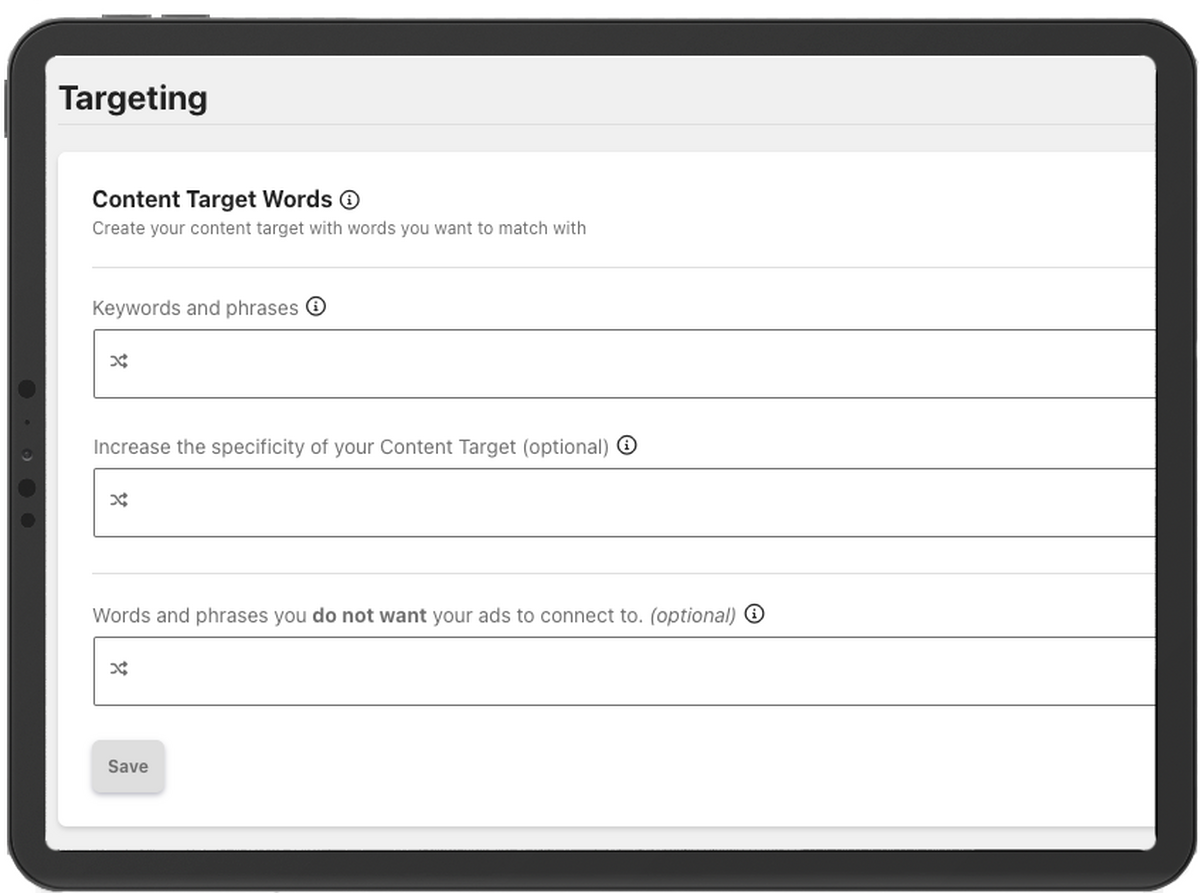
Using one box
We always recommend starting with one box and then optimizing the result with the Planning Tool.
- Use one box of keywords if you want to maximize the volume and number of relevant articles within a topic or context.
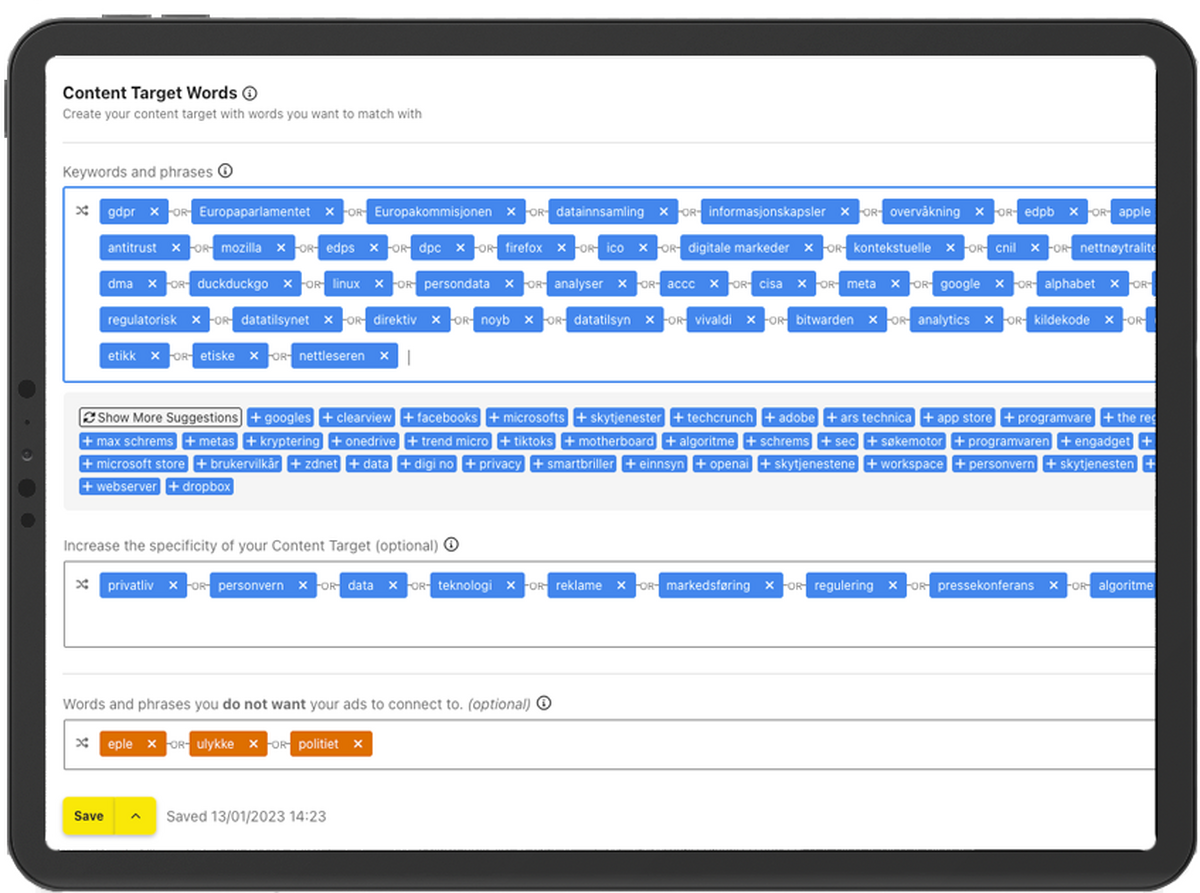
- Put in as many keywords as possible so that the system gets as much material as possible to work with in the optimization.
- Be careful using generic words.
Use of two boxes
- Use two boxes of keywords if you want a specific angle on a topic and to narrow down the content further.
- When using two boxes, the system will retrieve at least one word from each of the boxes.
Step 4 Validate and optimize the result with the Planning Tool
Once you've added keywords you want to associate your ad with in articles, you're ready to optimize further with the new Planning Tool.
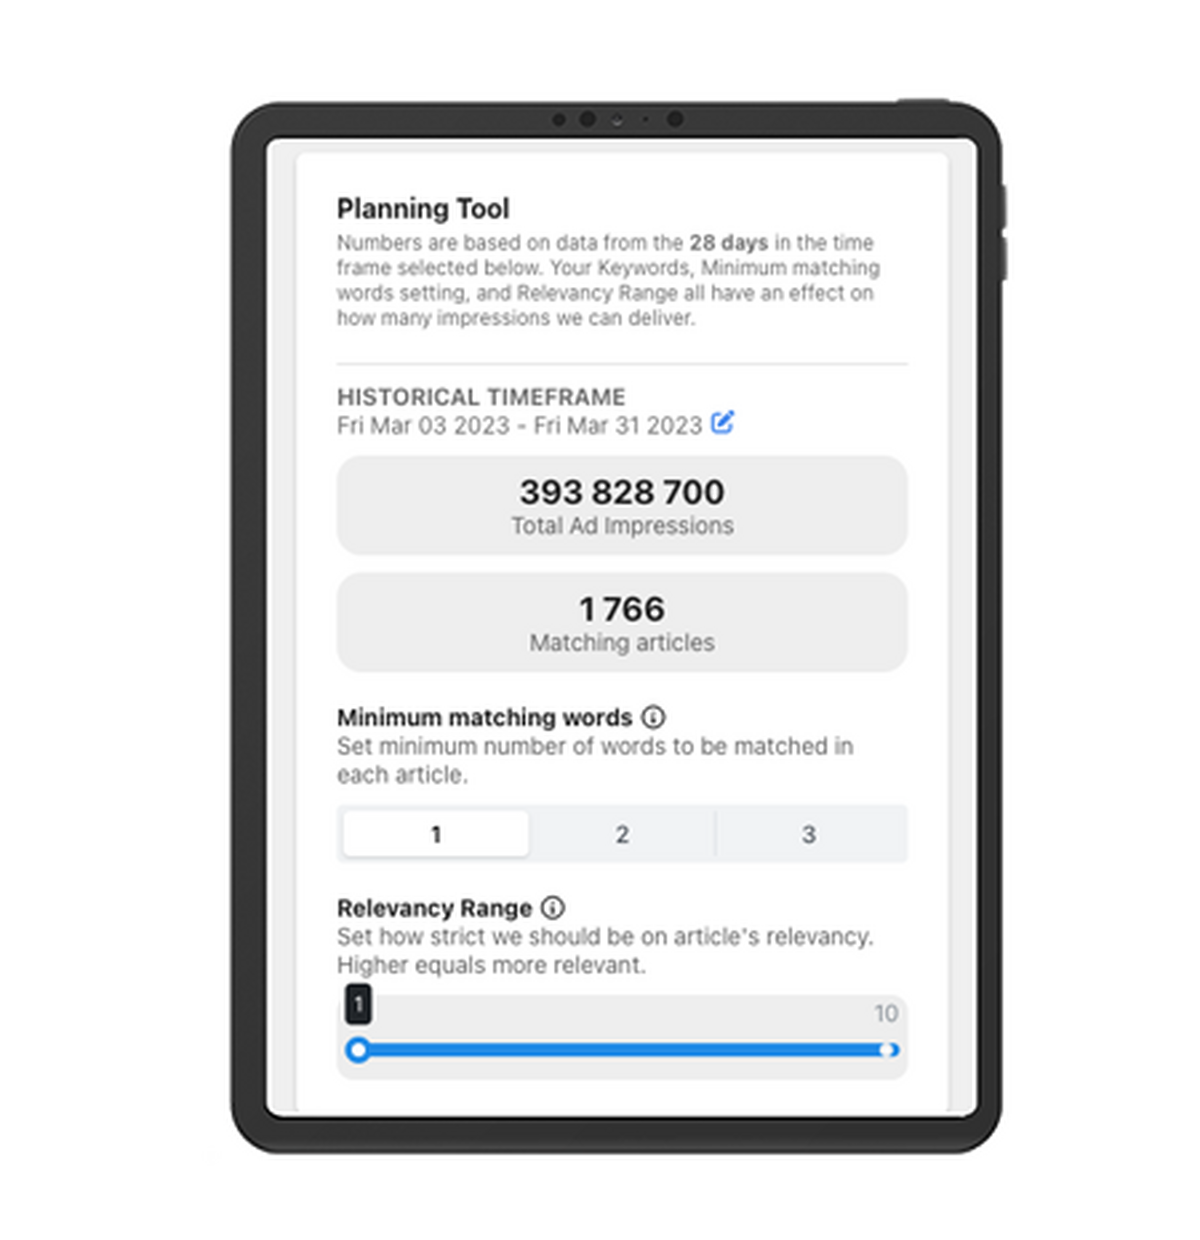
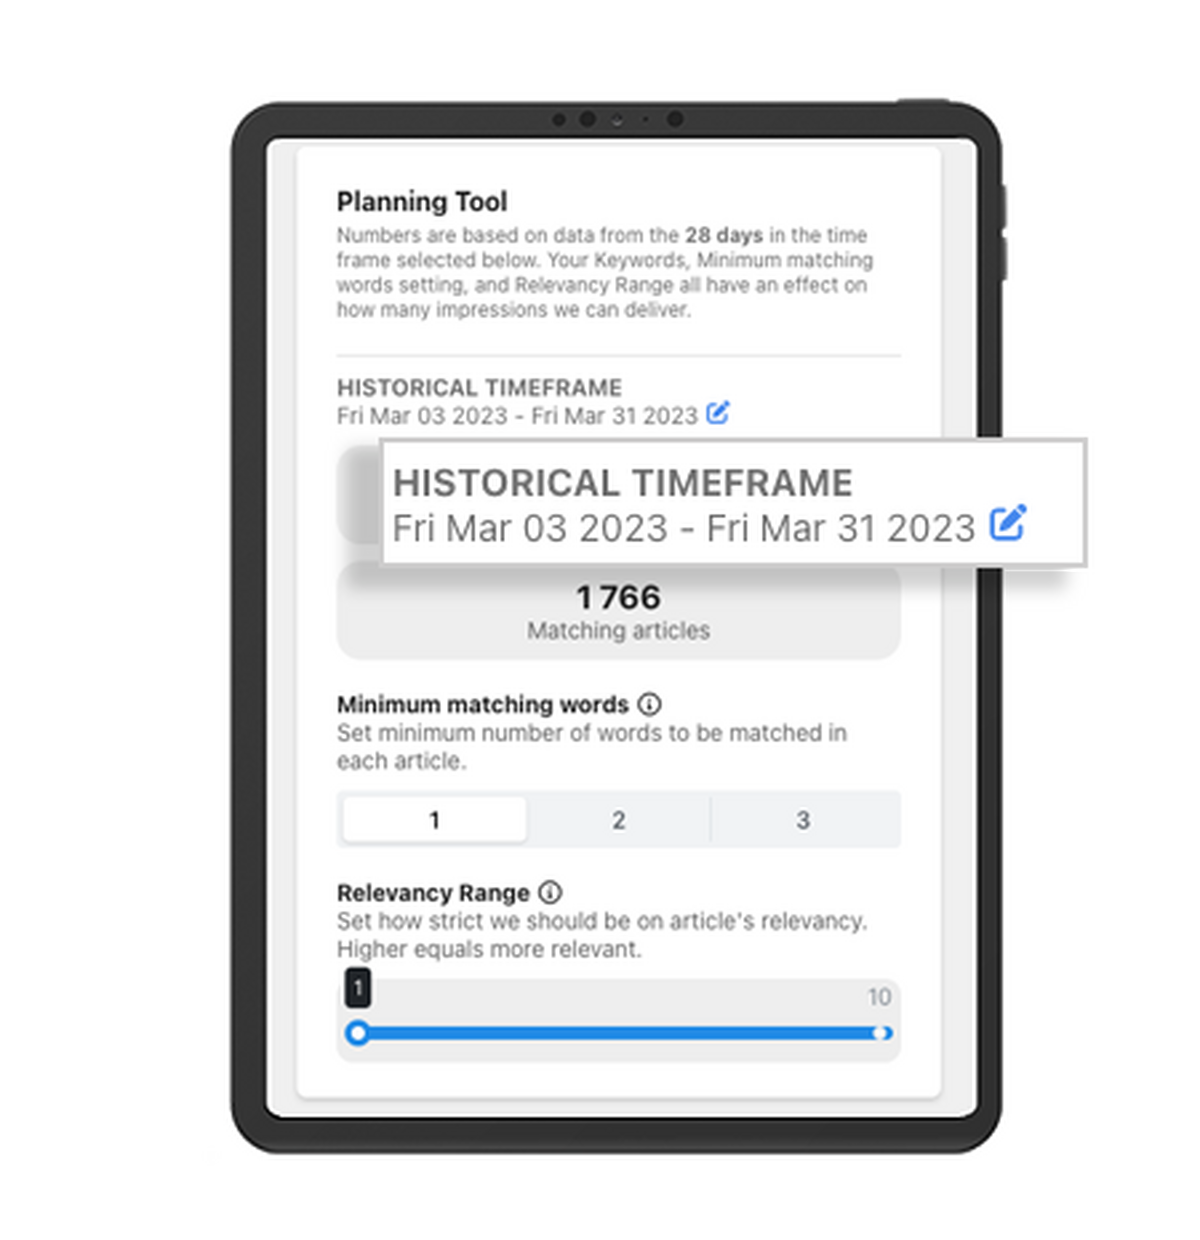
Choice of time period
Start by choosing the time period you want to base your estimate on.
A good tip is to use the graph and pie chart to see when your topic has trended in the news over the past 12 months.
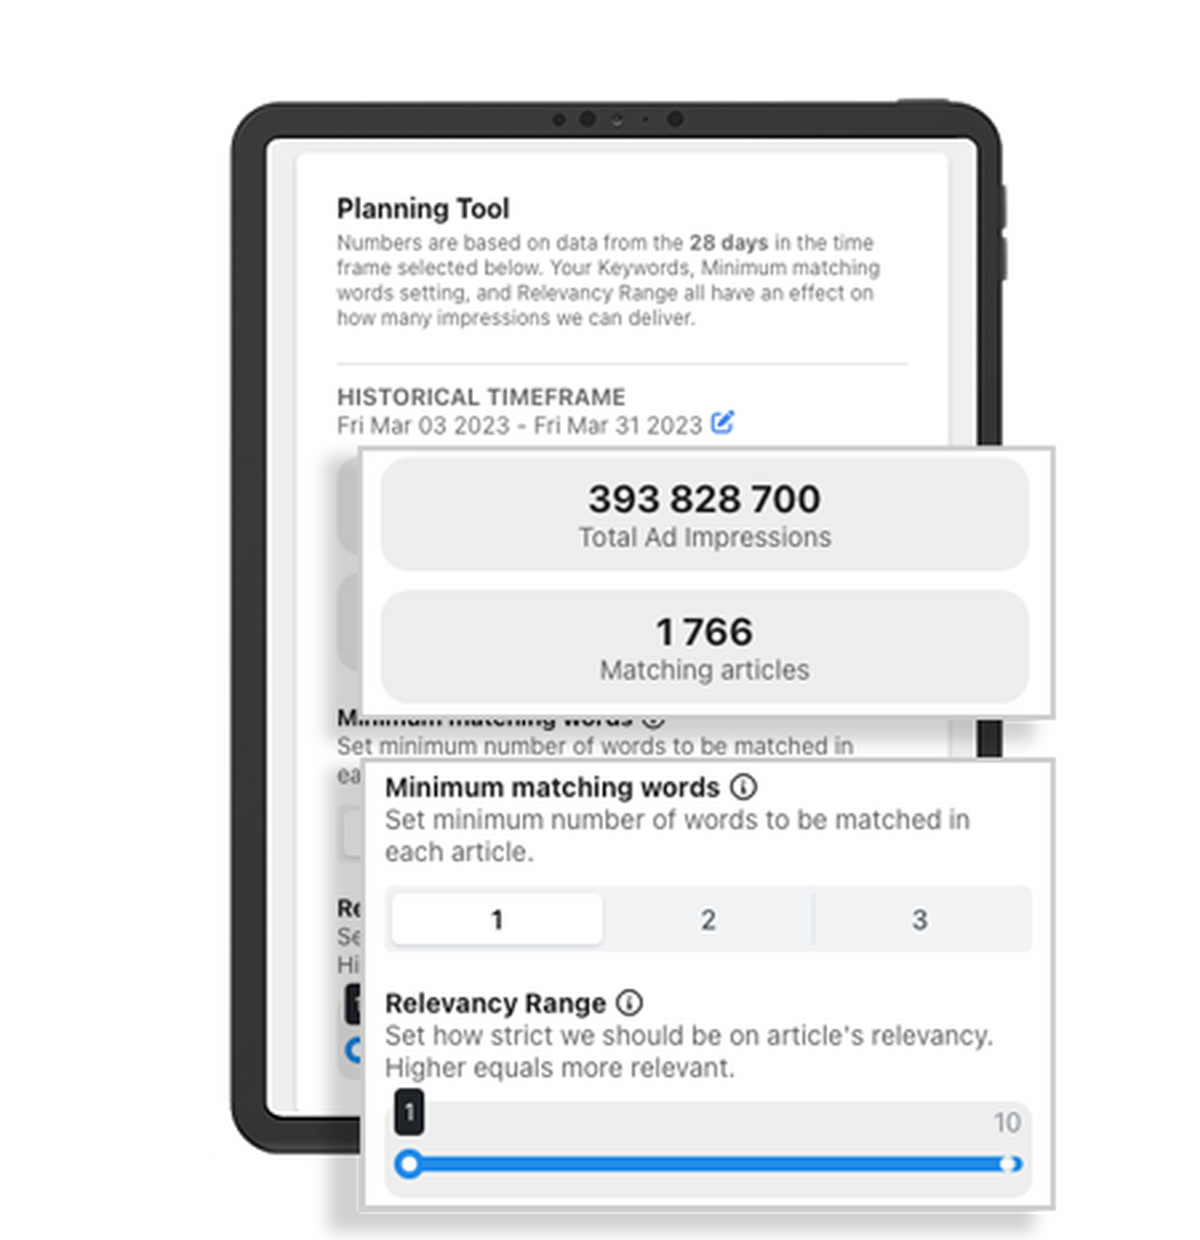
Check estimated volume
- Based on the choices you have made so far and the keywords you have selected, you will get an estimate of the number of ad impressions and relevant articles.
- Total ad impression is an indicator that shows you how many ad placements you can bid on.
Estimated Articles shows how many articles contain your keywords. Based on the two indicators, you now have the opportunity to optimize your results using the features: Minimum matching words and Relevancy Range.
Assess and optimize
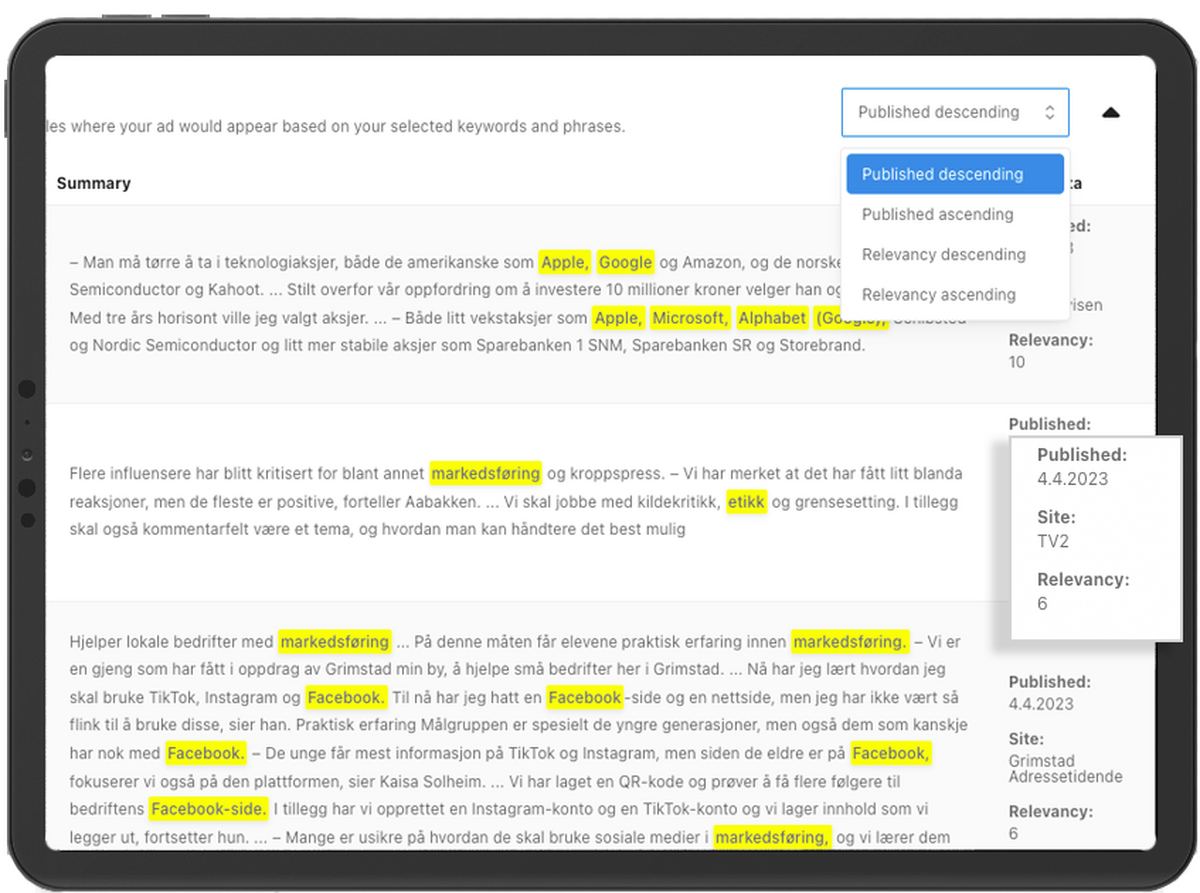
Use the article overview to validate the result you have achieved and use the Planning Tool to optimize using Minimum matching words and the Relevancy Range slider.
The article overview helps you to verify how well you are performing, and gives you insight into what your contextual direction looks like. The various articles have received a relevance score based on the keywords in Content Target (relevance score 1-10).
Use the sorting menu at the top of the article overview to check the overall relevance.
How to optimize:
- First, sort your articles by highest relevance
Do you get the matches you want? If not, try adding more keywords to the box. Feel free to add words you see may be relevant from the article overview. - Then sort by lowest relevance
Are those with the lowest relevance relevant enough? Or do you want a higher relevance? Use the Relevancy slider to adjust. If you see relevant articles that rank low, add words you see in those articles.
If you have chosen a topic and a box of keywords, you should test it by selecting either 2 or 3 on minimum matching words, to see how this affects the result. Use the Relevancy Range slider to further adjust relevance.
If you have several topics with multiple boxes, we recommend using Relevancy Range to optimize the result.
Repeat the optimization until you are satisfied with the result.
We hope the new Planning Tool will help you achieve your campaign goals! Do not hesitate to contact us if you need help or have any questions - we are always available and ready to help you.
Kobler
matches ads
with content
Do you have questions? Wonder how to start using contextual marketing? Contact one of our advisers!

- Senior Advisor
- kjetil@kobler.no
- +47 926 28 015
